完善角色
虽然我们角色已经制作好了,但是他完全不能动起来,也没有任何代码可以驱动他。因此我们接下来将从这两个方 面努力去完善角色。
让角色动起来
对于角色,我们的策略是:
当前鼠标被按下时,角色开始跳跃
当角色跳跃一定的时间后,结束跳跃过程
因此我们可以在脚本中添加一些方法,用于完善角色的行为:
监听鼠标输入
onMouseUp(event: EventMouse) {}
根据步数跳跃:
jumpByStep(step: number) {}
根据每次的更新来计算角色最新的位置:
update (deltaTime: number) {}
接下来我们来完善这些方法:
监听输入
Cocos Creator 支持鼠标、键盘、触摸以及游戏手柄等硬件,并将其封装在了 input 这个类里面,我们可以通过如下的代码来监听输入:
start () {input.on(Input.EventType.MOUSE_UP, this.onMouseUp, this);}
input 和 Input 是实例和类型的区别。
上述代码将监听鼠标弹起的事件并调用 onMouseUp 这个方法。
在 onMouseUp 这个方法内,我们通过判断鼠标是左键还是右键被按下,来确定要跳几步:
onMouseUp(event: EventMouse) {if (event.getButton() === 0) {this.jumpByStep(1);} else if (event.getButton() === 2) {this.jumpByStep(2);}}
getButton 方法会在鼠标左键被按下时返回 0,而右键则是 2。
移动角色
对于大多与游戏角色来说,动起来的概念就是将其位置发生变化,对于匀速移动的物体,他移动后的位置应该是如下描述的:
P_1 = P_0 + v*t
也就是 最终位置 = 当前位置 + 平均速度 * 时间间隔
因此我们可以通过计算上一次物体的位置,在加上速度和时间的乘积即可。而时间间隔我们采用 update 方法里面的 deltaTime 参数。
update (deltaTime: number) {}
update 方法会被引擎以一定的时间间隔调用,比如帧率为 30 每秒时,则每秒会调用 update 30 次,这个方法的作用是为了能够通过特定的时间间隔来尽量模拟现实中时间连续的现象。
这里我们整理下角色移动所需要的一些信息:
是否开始跳跃: _startJump,用于判断角色是否在跳跃状态
跳跃步数:一步或者两步 _jumpStep,用于记录鼠标的输入,并将其转化为数值。因为我们规定角色最多只能跳两步,那么他可能是 1 或者 2。
跳跃时间:_jumpTime,这个数值类型的变量用于记录整个跳跃的时长
当前的跳跃时间:_curJumpTime,每次跳跃前,将这个值置为 0,在更新时进行累计并和 _jumpTime 进行对比,如果超过了 _jumpTime,那么我们认为角色完成了一次完整的跳跃
移动速度:_curJumpSpeed,用于记录跳跃时的移动速度
当前的位置:_curPos,记录和计算角色的当前位置
位移: _deltaPos,每一帧我们都需要记录下位置和时间间隔的乘积,我们将用他来存储计算结果
目标位置:_targetPos,最终的落点,我们将在跳跃结束时将角色移动这个位置以确保最终的位置正确,这样可以处理掉某些误差的情况
在 PlayerController 中添加上述的属性:
private _startJump: boolean = false;private _jumpStep: number = 0;private _curJumpTime: number = 0;private _jumpTime: number = 0.1;private _curJumpSpeed: number = 0;private _curPos: Vec3 = new Vec3();private _deltaPos: Vec3 = new Vec3(0, 0, 0);private _targetPos: Vec3 = new Vec3();
那么我们要做的事情很容易这么做:
在 jumpByStep 里面计算出角色要移动所必须的信息
在 update 里面执行角色运动的行为
那么代码就可以填充为:
jumpByStep(step: number) {if (this._startJump) {return;}this._startJump = true; // 标记开始跳跃this._jumpStep = step; // 跳跃的步数 1 或者 2this._curJumpTime = 0; // 重置开始跳跃的时间this._curJumpSpeed = this._jumpStep / this._jumpTime; // 根据时间计算出速度this.node.getPosition(this._curPos); // 获取角色当前的位置Vec3.add(this._targetPos, this._curPos, new Vec3(this._jumpStep, 0, 0)); // 计算出目标位置}
Vec3 是 三维矢量 Vector3 的缩写,这个类会提供三维矢量的存储和一些计算的方法。其中 Vec3.add 是他提供的静态方法,用于计算两个向量相加,并将结果存储在第一个参数 _targetPos 里面。
不是 2D 游戏吗?为什么要操作 Vector3。虽然我们在编辑器看到的位置信息都是 2D 的但是在引擎中的计算都是实际上以 3D 为基础的,因此在计算是都会采用三维矢量作为运算位置的基础。
接下来将计算在跳跃状态下,角色的移动,非跳跃状态我们什么都不做保持静止就可以:
update (deltaTime: number) {if (this._startJump) {this._curJumpTime += deltaTime; // 累计总的跳跃时间if (this._curJumpTime > this._jumpTime) { // 当跳跃时间是否结束// endthis.node.setPosition(this._targetPos); // 强制位置到终点this._startJump = false; // 清理跳跃标记} else {// tweenthis.node.getPosition(this._curPos);this._deltaPos.x = this._curJumpSpeed * deltaTime; //每一帧根据速度和时间计算位移Vec3.add(this._curPos, this._curPos, this._deltaPos); // 应用这个位移this.node.setPosition(this._curPos); // 将位移设置给角色}}}
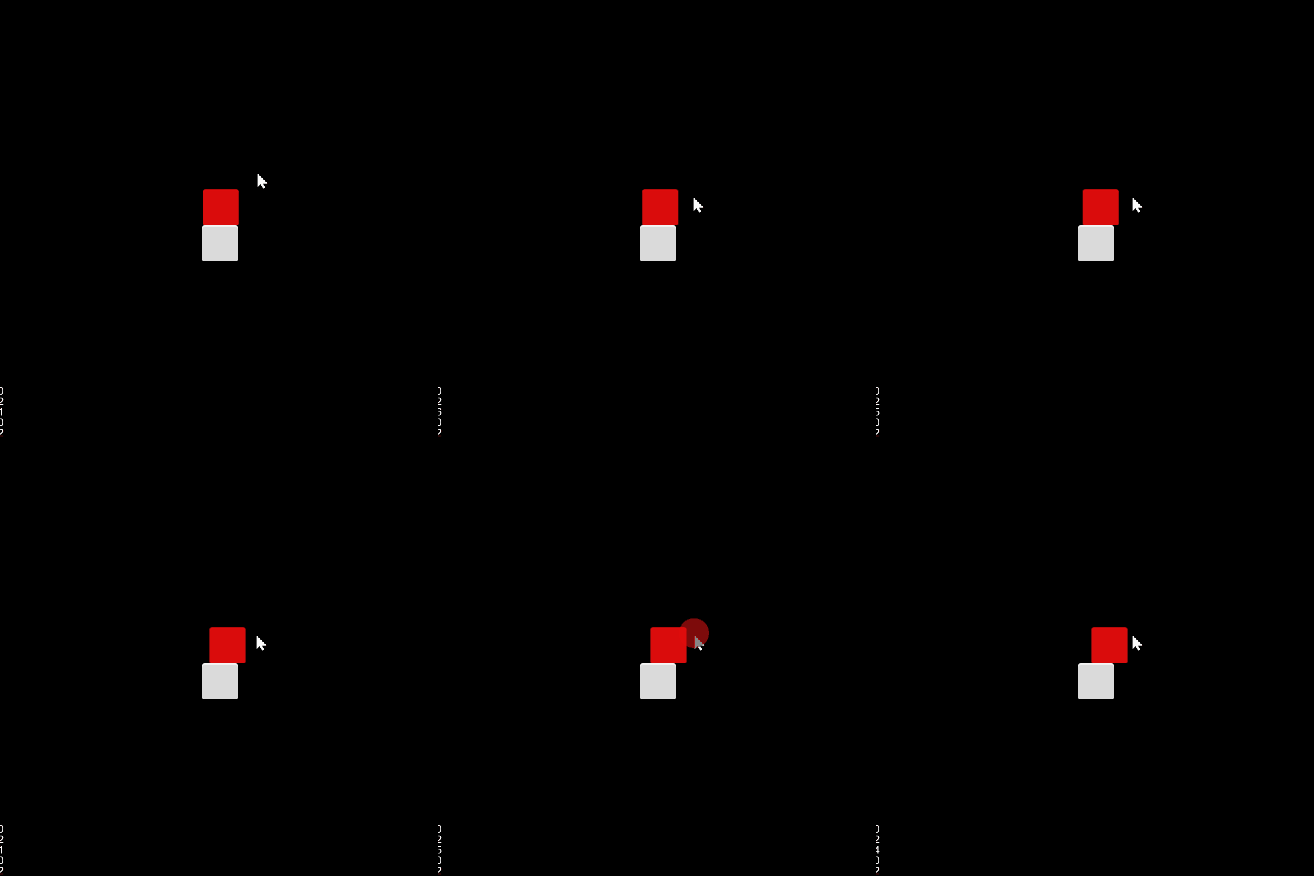
此时如果点击
已经可以看到角色的运动了。

需要注意一点,在 2D 世界里面,如果位移一个单位,那么这个位置不会很明显,这是因为我们的 Cavans 设定为 960 x 640, 因此横向移动 1 个单位,他相当于移动 Canvas 的 1/960。
因此我们要对移动的单位进行放大,这里可以在 PlayerController 上面添加一个用于记录放大比的常量:
export const BLOCK_SIZE = 40; // 添加一个放大比@ccclass("PlayerController")// 其他代码略
注意这里我们添加了一个常量 BLOCK_SIZE 并使其等于 40 和角色以及方块的大小一致。
将 jumpByStep 修改为:
jumpByStep(step: number) {if (this._startJump) {return;}this._startJump = true;this._jumpStep = step;this._curJumpTime = 0;this._curJumpSpeed = this._jumpStep * BLOCK_SIZE/ this._jumpTime;this.node.getPosition(this._curPos);Vec3.add(this._targetPos, this._curPos, new Vec3(this._jumpStep* BLOCK_SIZE, 0, 0));}
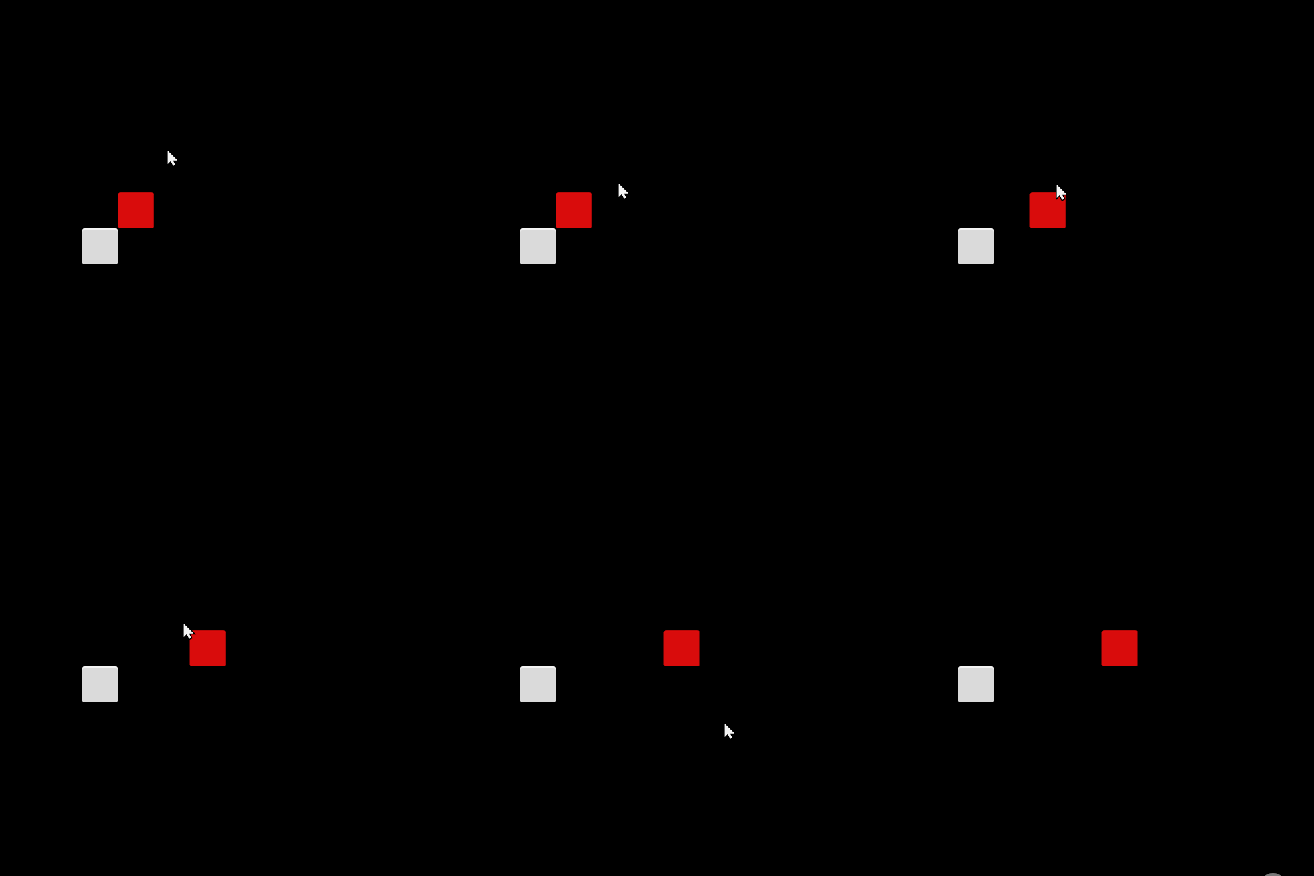
再次启动游戏可以看到正常的移动速度了:

此时 PlayerController 代码如下:
import { _decorator, Component, Vec3, EventMouse, input, Input } from "cc";const { ccclass, property } = _decorator;export const BLOCK_SIZE = 40;@ccclass("PlayerController")export class PlayerController extends Component {private _startJump: boolean = false;private _jumpStep: number = 0;private _curJumpTime: number = 0;private _jumpTime: number = 0.1;private _curJumpSpeed: number = 0;private _curPos: Vec3 = new Vec3();private _deltaPos: Vec3 = new Vec3(0, 0, 0);private _targetPos: Vec3 = new Vec3();start () {input.on(Input.EventType.MOUSE_UP, this.onMouseUp, this);}reset() {}onMouseUp(event: EventMouse) {if (event.getButton() === 0) {this.jumpByStep(1);} else if (event.getButton() === 2) {this.jumpByStep(2);}}jumpByStep(step: number) {if (this._startJump) {return;}this._startJump = true;this._jumpStep = step;this._curJumpTime = 0;this._curJumpSpeed = this._jumpStep * BLOCK_SIZE/ this._jumpTime;this.node.getPosition(this._curPos);Vec3.add(this._targetPos, this._curPos, new Vec3(this._jumpStep* BLOCK_SIZE, 0, 0));}update (deltaTime: number) {if (this._startJump) {this._curJumpTime += deltaTime;if (this._curJumpTime > this._jumpTime) {// endthis.node.setPosition(this._targetPos);this._startJump = false;} else {// tweenthis.node.getPosition(this._curPos);this._deltaPos.x = this._curJumpSpeed * deltaTime;Vec3.add(this._curPos, this._curPos, this._deltaPos);this.node.setPosition(this._curPos);}}}}
该分类下的相关小册推荐:
暂无相关推荐.
